We found a stash of colored paper hidden away. The paper is quite thick, like a very thin cardboard. We don't even remember where the papers came from, but it came in handy to show this cut-and-fold technique. :)


Let's review: the piece of cardboard, fold it in half, then cut diagonally. (We just wanted to show the steps, using the different colors)

When you open the cardboard, it'll look like this:

Fold every other cut V-shape upwards, like this:

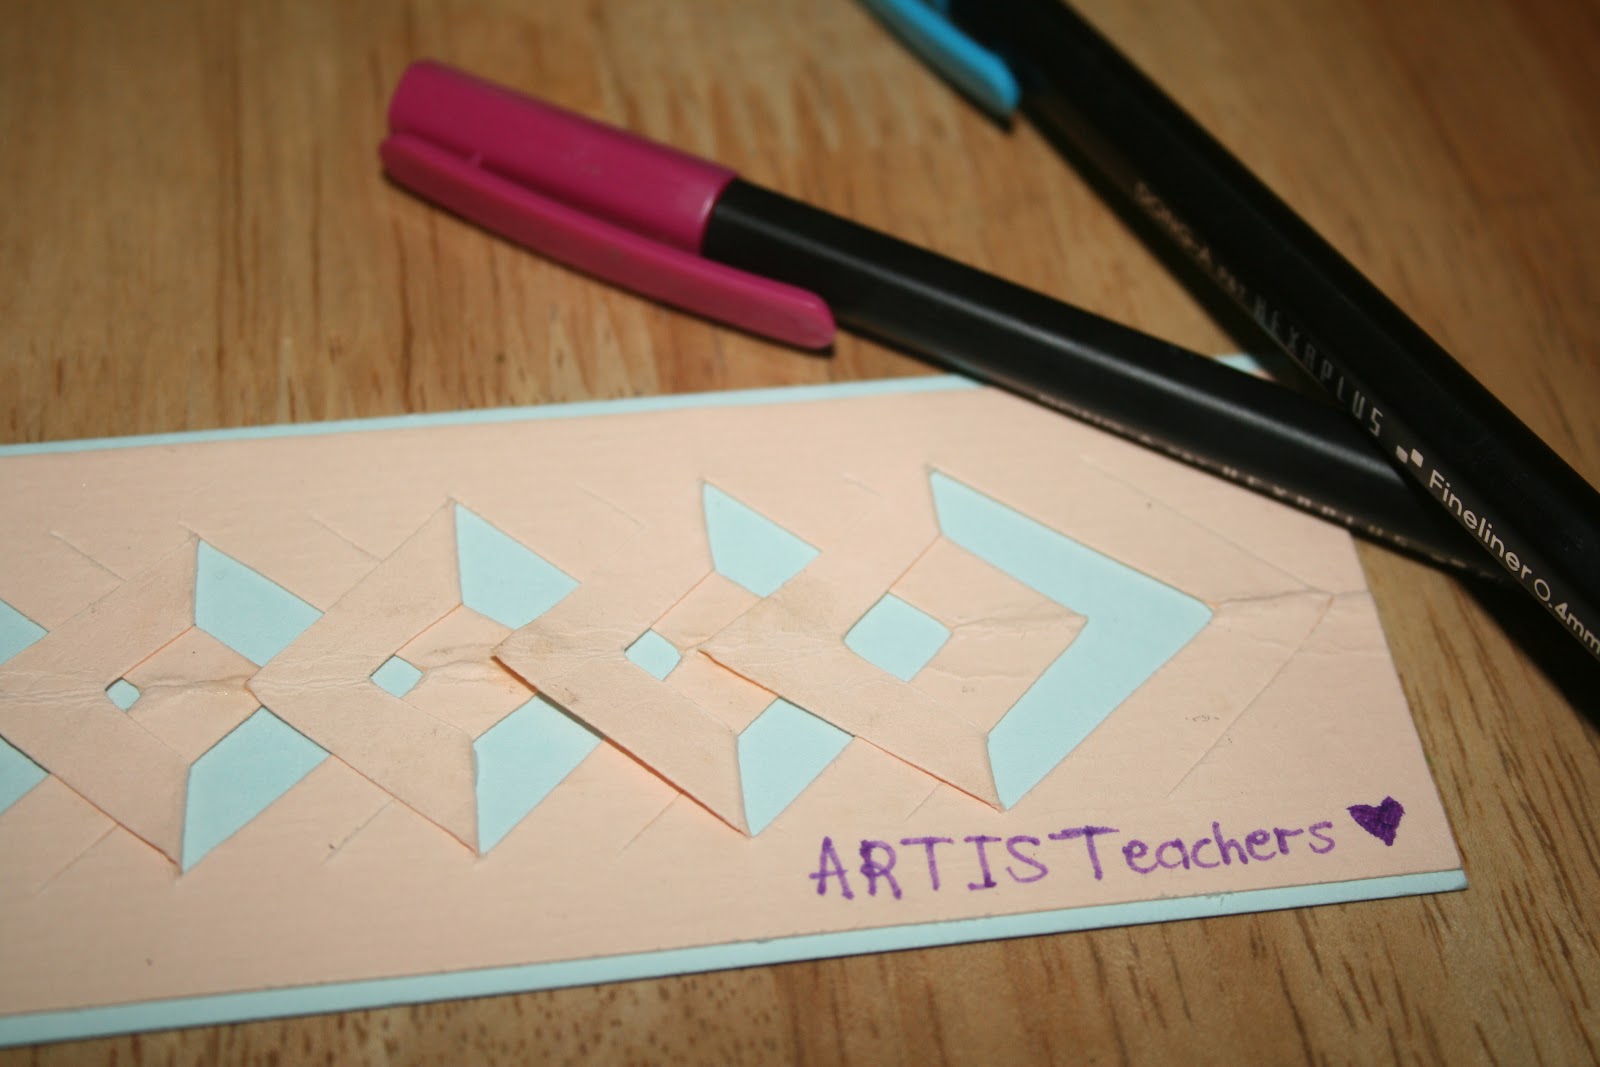
We planned to use the design to make a bookmark:

So we stuck the folds back to complete the design. The little diamonds in the middle are a little unequal in size, this is because our cuts weren't the same thickness. We were too lazy to get a ruler and mark out the distances. We couldn't find a protractor to measure out the angles either.

And there you have it! A great way to design borders, gift tags, cards... whatever surface you feel like designing. :)
We experimented more with weaving the V-shapes of two strips of the cardboard together:

The creations!

No comments:
Post a Comment